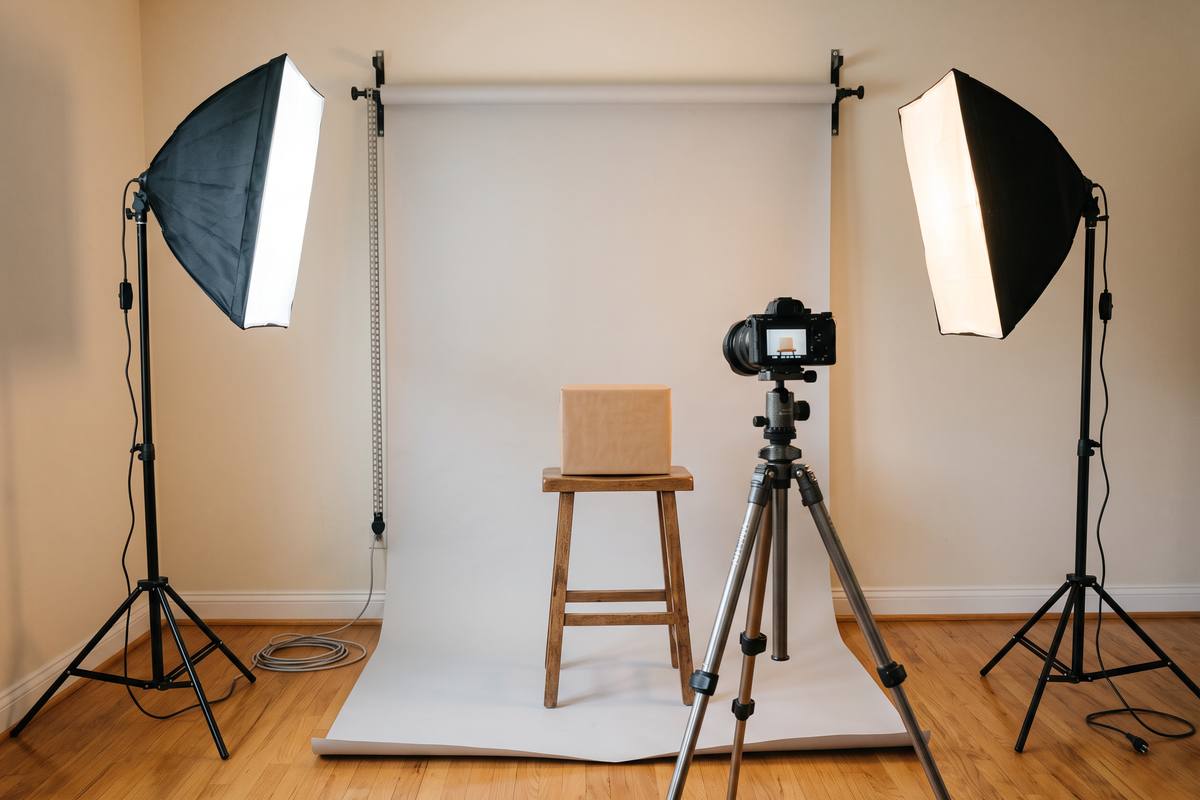
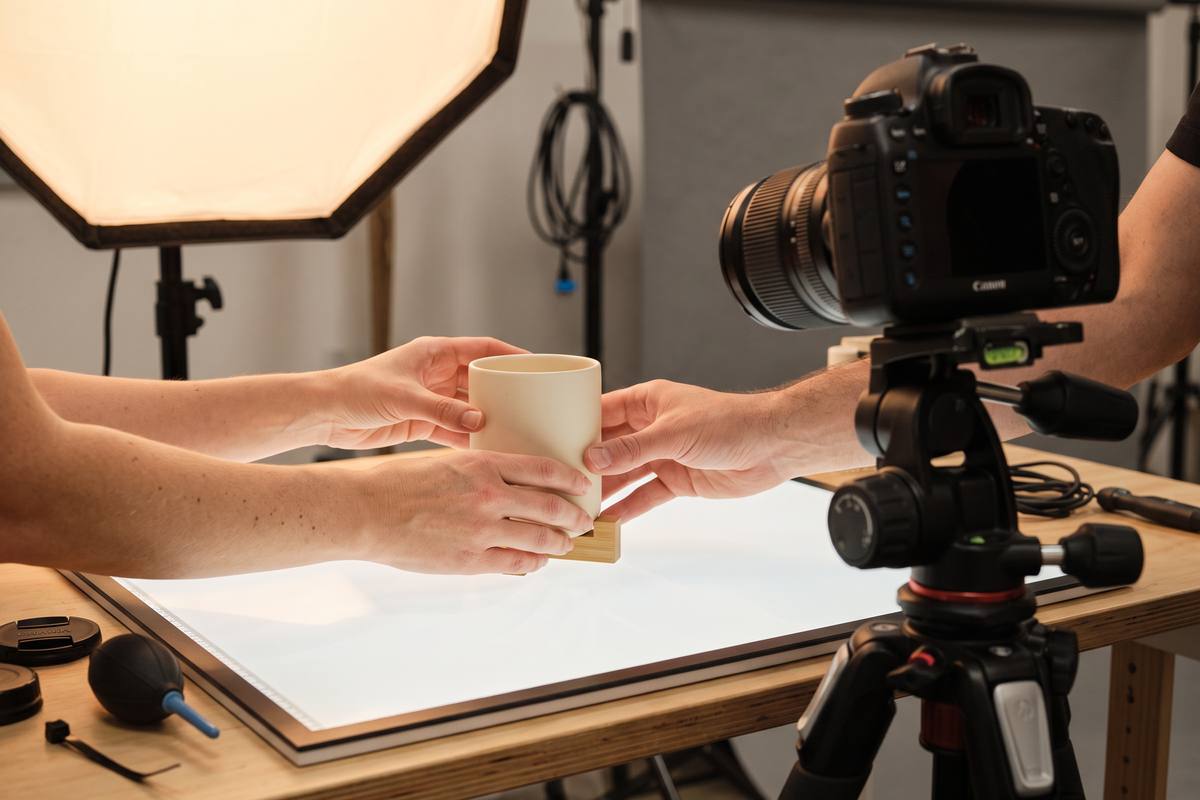
Studio setup
Building a Tabletop Set for Product Video
A product video set is smaller than most people imagine: one table, one surface, one backdrop and a place to put a light.
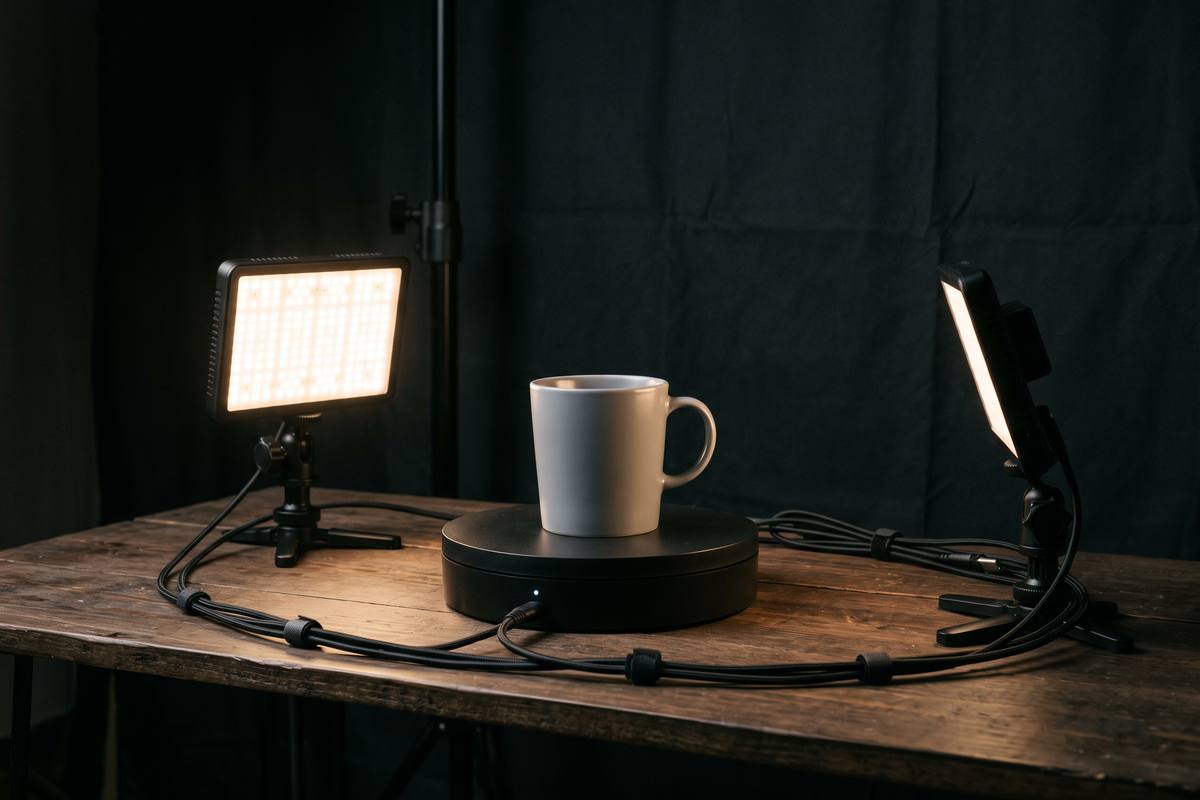
Choose the surface first
The surface is the largest single element in a tabletop shot, and its finish determines how every light behaves. Matte surfaces scatter light and show texture; glossy surfaces mirror everything, including your lights, your phone and your hands.
Start with a matte mid-tone surface. It keeps light-coloured products from disappearing, it hides minor dust, and it lets you control contrast by moving the light rather than by changing the surface.
- Matte wood or paper: the safest starting surface
- Mid-tone grey: keeps white products readable
- Textured fabric: good for scale and softness, gathers lint
- Glossy acrylic: strong reflections, use deliberately
- Glass: requires a clean edge and a dark background to read
Backdrops without a studio
A backdrop only needs to be out of focus and slightly different in tone from the product. A roll of paper, a painted board or a large sheet of card all work, provided the surface behind the product curves gently into the table surface rather than meeting it at a hard corner.
If you have no room for a backdrop, shoot at a low angle against the far wall and let depth of field do the work. The wall then needs to be clean and evenly lit, which is a lighting task, not a set-building one.
The table itself
Height matters more than size. A table around waist height lets you film at product level without bending, and it leaves space underneath for feet, clamps and cables. Anything lower turns a twenty-minute shoot into an uncomfortable hour.
Keep the area directly around the set clear. Clutter behind the camera does not appear in the frame, but it does slow you down when you need to move a light or reach a cloth.
Making it repeatable
Once you like a setup, photograph it from two angles and write down the light positions, the surface, the backdrop and the camera height. That record turns a good result into a repeatable one and is the difference between a single video and a product range.
Change one element at a time when you experiment. Two simultaneous changes produce a result you cannot explain, which means you cannot repeat it later.
Key takeaways
- Start with a matte mid-tone surface and control contrast with light.
- Curve the backdrop into the surface instead of meeting it at a corner.
- Use a waist-height table and keep the area around it clear.
- Photograph and record every setup you want to repeat.
StudioNine Video editorial teamWritten by a tabletop studio team that films small products every week, with the setups photographed on the same tables we describe.
Do I need a professional backdrop stand?
No. A board leaning against a wall, or a roll of paper fixed with tape, is enough as long as the transition to the surface is smooth.
How large should the surface be?
Large enough that the product sits comfortably inside the frame with room to move it. Around sixty by ninety centimetres covers most small products.
Can I film on a kitchen counter?
Yes, if you can control the light and the surrounding surfaces. Kitchens often have hard reflections from cabinets and windows, so check what is reflected in the product before filming.