Product lighting
Lighting Small Objects Without Hotspots
Small products magnify every lighting mistake. The good news is that they also respond to very small, very cheap adjustments.
In this guide
Why small products look harsh
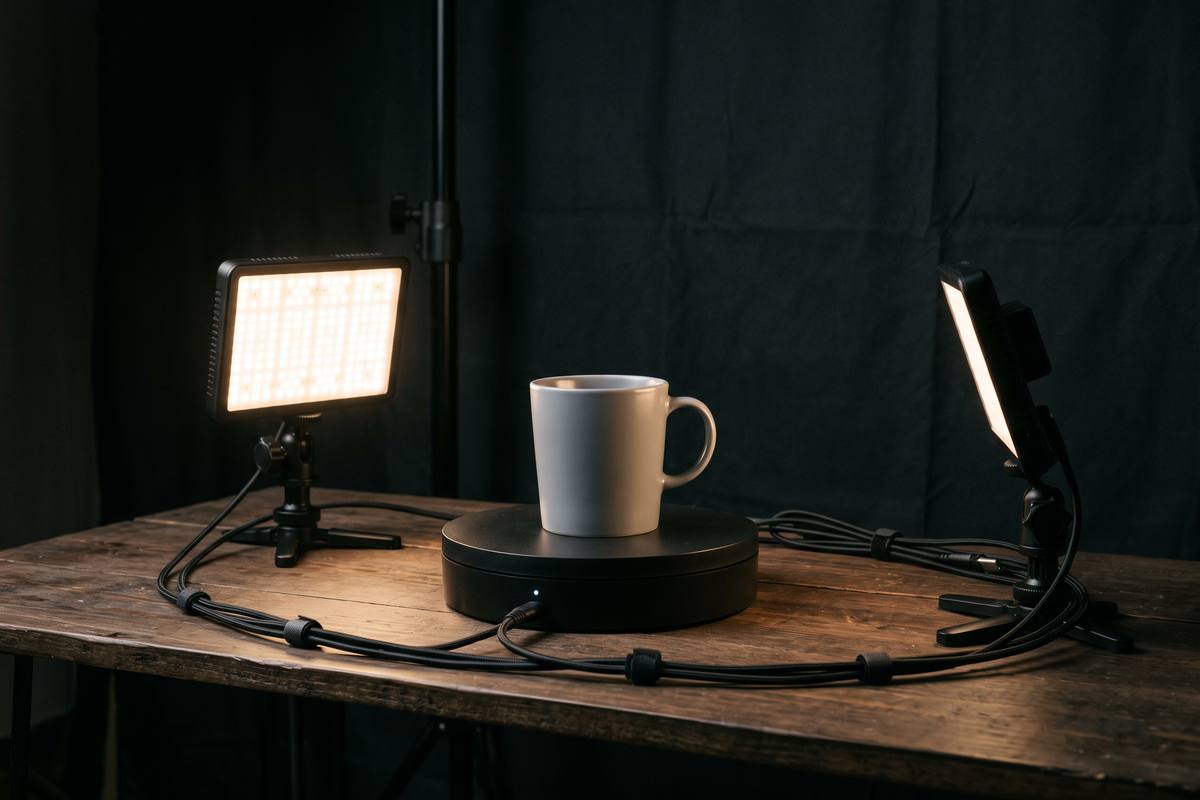
Softness depends on the size of the light relative to the subject. A softbox is enormous next to a small product, which is good news: it means an ordinary lamp with diffusion becomes a very soft source at table distance.
Harshness usually comes from a small, direct source or from a ceiling light. Move the light closer and make it bigger, and the same fixture suddenly behaves.
Position for texture, not for brightness
Light that comes straight at the product flattens it. Move the source to the side, roughly forty-five degrees, and slightly above. The surface texture — the grain, the weave, the moulding — appears as small shadows that give the object shape.
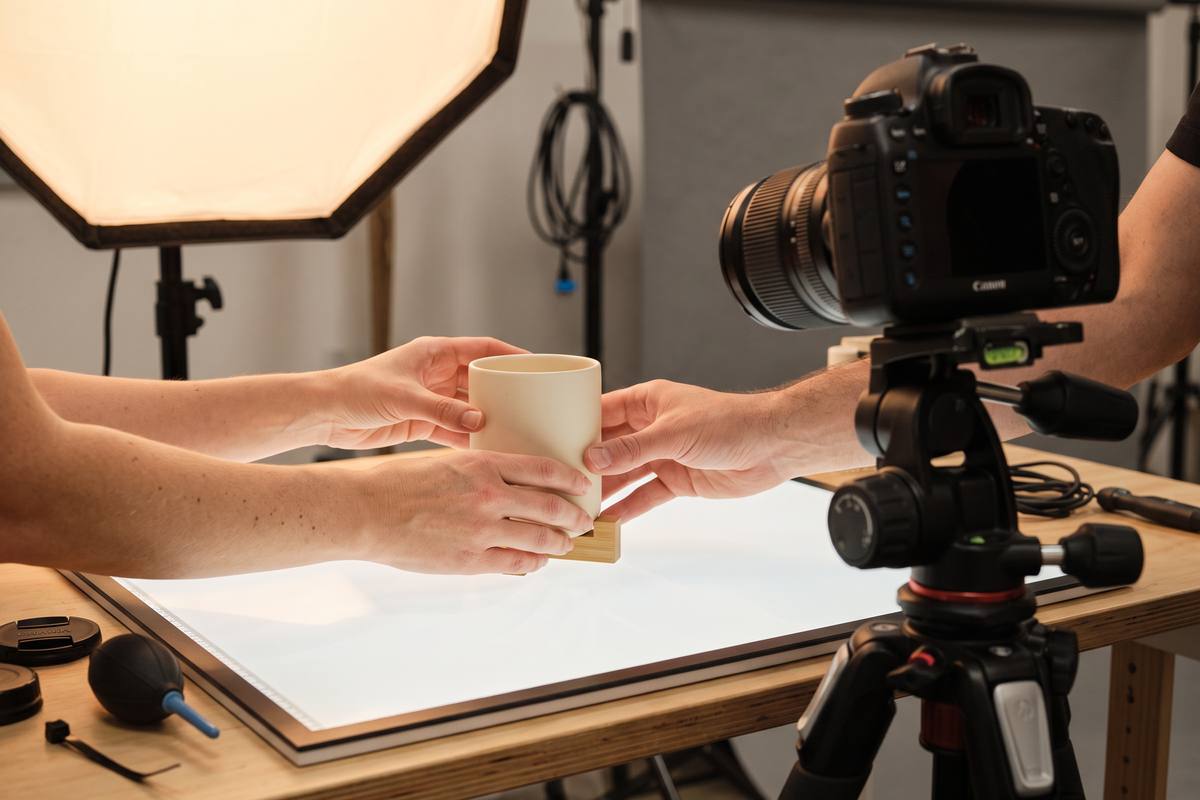
Keep a white card on the opposite side to lift the shadow just enough to show detail. The card is doing the same job as a second light, at a fraction of the cost and with none of the crossed shadows.
- Large source, close to the product
- Side and slightly above, never straight on
- White card opposite the light for shadow detail
- Background lit separately if it needs to stay clean
Reflections, labels and colour
Glossy packaging mirrors the room. The fastest fixes are to increase the size of the source, move it further to the side, or place a sheet of diffusion between the light and the product so that what the surface reflects is a large soft panel rather than a bright bulb.
Labels must stay readable and colour-accurate. Set the camera's white balance to match the light you are using and check the result against the physical product, because automatic white balance can shift printed colours noticeably.
Two lights, used with restraint
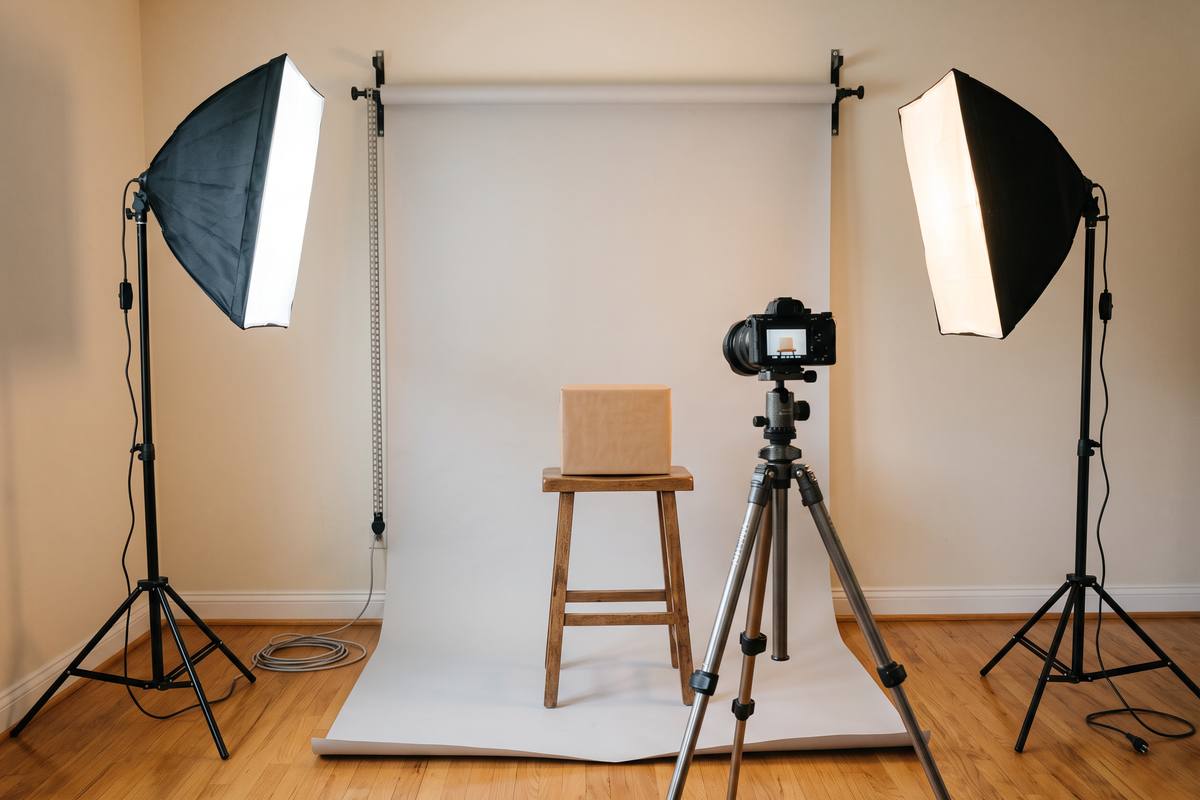
A second light is usually better spent on the background than on the product. One main source shapes the object, and a second, lower-powered source keeps the backdrop even and clean.
If you do light the product from two sides, keep one source clearly dominant. Two equal sources remove all the shape you spent time creating.
Key takeaways
- Make the light large relative to the product and bring it close.
- Place the main light to the side and slightly above.
- Use a white card for shadow detail instead of a second light.
- Check printed colours against the physical product, not the screen.
StudioNine Video editorial teamWritten by a tabletop studio team that films small products every week, with the setups photographed on the same tables we describe.
Is a ring light suitable for products?
It creates very even, flat light and a circular reflection on glossy surfaces. A single soft source to the side gives more shape and fewer artefacts.
How do I light a shiny metal object?
Large sources, a dark or gradient background, and careful placement so the reflection shows a soft panel rather than a hard edge. Metal reflects the room, so controlling the room is the real task.
Should I use a light meter?
Not necessary. Judge exposure on the highlight detail of the product and check the histogram or zebra warnings on the phone.